Lesson plans are always present when teachers demonstrate and instruct the lessons that their students need to learn. It is their guide to keep them on track to teach all the topics required within the curriculum. Making a lesson plan is no simple task; it needs to be detailed and accurate or else its function is meaningless since the teacher will need to redo their lesson plan to correct it. If you’re curious what a lesson plan consists of, read the article below.
10+ 5-Day Lesson Plan Samples
1. 5-Day Lesson Plan Template
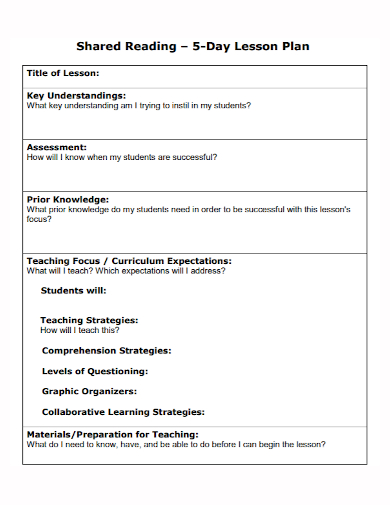
2. 5-Day Guided Reading Lesson Plan Template
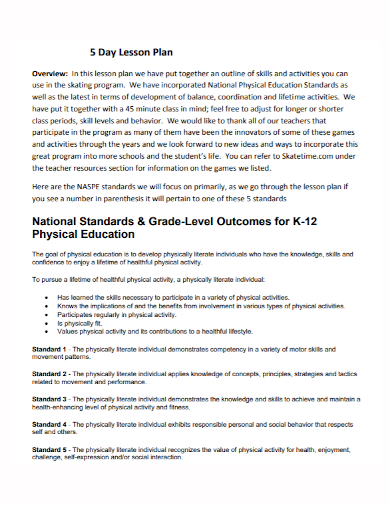
3. 5-Day Lesson Plan
4. 5-Day Reading Lesson Plan
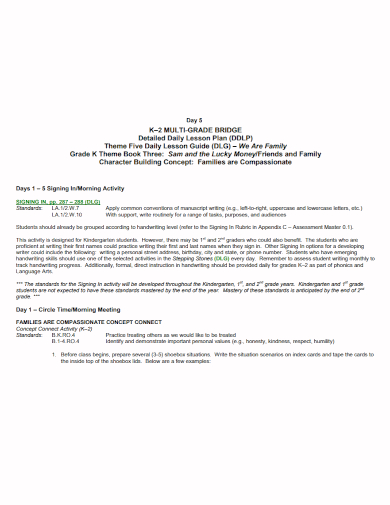
5. 5-Day Multi-Grade Lesson Plan
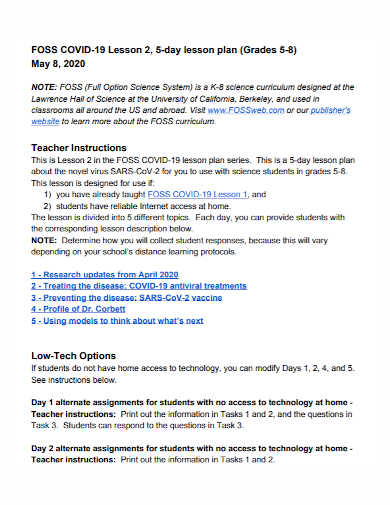
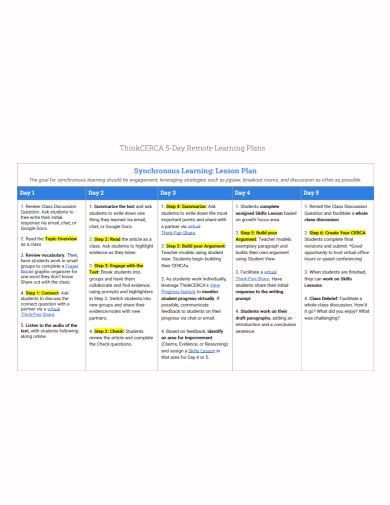
6. 5-Day Remote Learning Lesson Plan
7. Sample 5-Day Lesson Plan
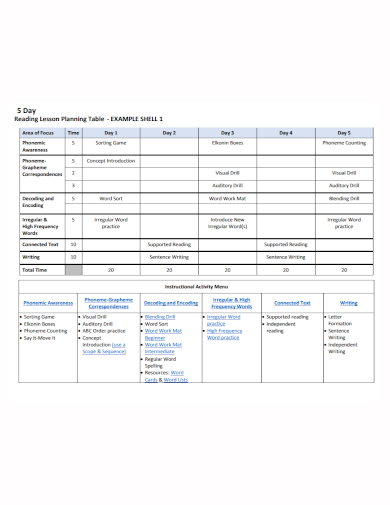
8. 5-Day Reading Shell Lesson Plan
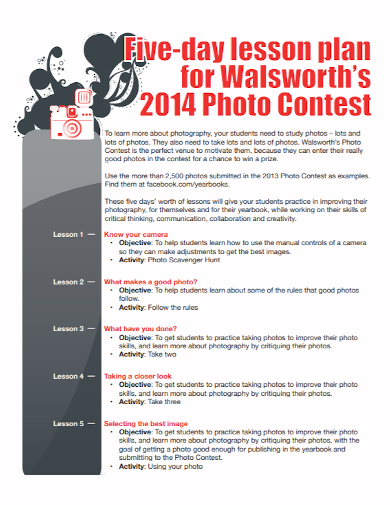
9. 5-Day Photo Contest Lesson Plan
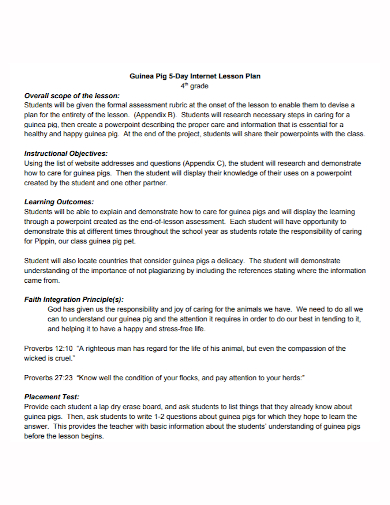
10. 5-Day Internet Lesson Plan
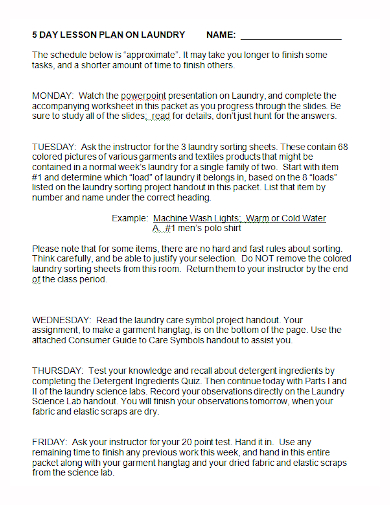
11. 5-Day Laundry Lesson Plan
What is a Five Day Lesson Plan?
A lesson plan is a guide that teachers use every day to determine what lessons the students will learn, how the lesson will be taught, and how learning will be evaluated. Lesson plans help teachers to be more effective in teaching their lessons in the classroom by providing a detailed outline to follow for their class to do. A five-day lesson plan outlines the lessons to be taught and learned by students within a week.
How to Write a Lesson Plan
1. Identify the Class Objectives
Before you dive in to write your lesson plan, you need to brainstorm and identify the objectives of each of your classes within the five days or the week. What do you hope to accomplish by the end of the period? Are there specific things that your students should know and be able to do? Once you’ve figured out your objectives, write them down, and then you can proceed to the next step.
2. Know the Needs of Your Students
It’s essential to identify the learning needs of your students and figure out how the lessons will meet their needs. If you figure out their needs, it is easier for you to cater to your teaching methods in a way that can help your students greatly.
3. Plan the Resources and Materials You Will Use
Make a list of the resources and materials you’ll need to teach your lessons, such as paper, pens, laptops, educational websites, etc.
4. Outline Activities to Engage Your Students
This section is where you will brainstorm methods and activities to keep your students’ interest in learning the lessons. Outline all fun tasks and activities you and your class can do to learn.
5. Instruct and Present the Lesson
This part is where you outline how you’re going to present the lesson to your students. This is where you will present and instruct them on the lesson they are about to learn while using the resources you listed in your lesson plan. Don’t forget to consider the different learning styles of your students so you can use teaching methods that work for everyone.
6. Provide Some Time for Students to Familiarize Their Lessons
After you taught the new lesson, you need to give some time for students to sink in what they’ve learned and let them practice. You can use the three practice methods that will help reinforce what you’ve taught them. Below are the details of the practice methods:
- Guided practice: This method lets the students go through of they’ve learned by recapping the lesson that has been taught.
- Collaborative process: This method lets students talk with their peers through a partner or group system to discuss the lessons and explore new concepts within the topic. You can offer additional help to clarify some points in the vague lesson.
- Independent practice: This method lets students apply their learning on their own through answering worksheets or writing short essays.
7. End and Evaluate the Lesson
It’s time to finish the lesson with a wrap-up by doing a brief overview of the lesson. To help you evaluate your plan by knowing if you’ve achieved your learning objectives, you can conduct a quiz or a test by the end of the five days. This will reflect whether or not the students learned something from the lessons. Their results can help you decide to review the lesson before moving on to a new topic.
FAQs
What are the advantages of making a lesson plan?
The advantages of having a lesson plan are:
- It helps teachers stay in control of the class and the lesson
- It let teachers evaluate their lessons and their teaching performance and methods
- It helps teachers organize their lessons, tasks, and activities for their classes
- It serves as a guide for substitute teachers to know what lessons or activities to do and help them stay on track with the curriculum objectives that the main teacher has set for their class.
What are the 4 As in a lesson plan?
The 4 As of a lesson plan are activating prior knowledge, acquiring new knowledge, applying the knowledge, and assessing the knowledge.
What four key components are needed in a lesson plan?
The four key lesson components that should be included in the lesson plan are objectives, anticipatory sets, checking for understanding, and closure.
When you’re done writing your lesson plan, don’t forget to review it for any consistencies or errors before you use your lesson plan for your classes. To help you get started making the lesson plan, download our free sample templates above to use as your format guide!
Related Posts
FREE 10+ Sample Math Lesson Plan
FREE 9+ Lesson Planner Samples
FREE 9+ Daily Plan Samples
Sample Toddler Lesson Plan
FREE 18+ Teacher Lesson Plan Templates
FREE 11+ Sample Daily Lesson Plan
FREE 8+ Sample Daily Lesson Plan
FREE 8+ Sample Elementary Lesson Plan
FREE 6+ Sample Lesson Plan Objective
FREE 10+ Substitute Teacher Lesson Plan Samples
FREE 10+ Academic Lesson Plan Samples
FREE 10+ Trainer Lesson Plan Samples
FREE 9+ Sample Preschool Lesson Plan
FREE 8+ Sample Kindergarten Lesson Plan
FREE 6+ Sample Lesson Plan
